Guide to using a high-pressure pesticide sprayer
Proper use of a pesticide sprayer is essential to protect crops from pests while ensuring operator and environmental safety. Incorrect use can result in uneven spraying, chemical waste, or health risks.
Features and benefits of a high-pressure pesticide sprayer
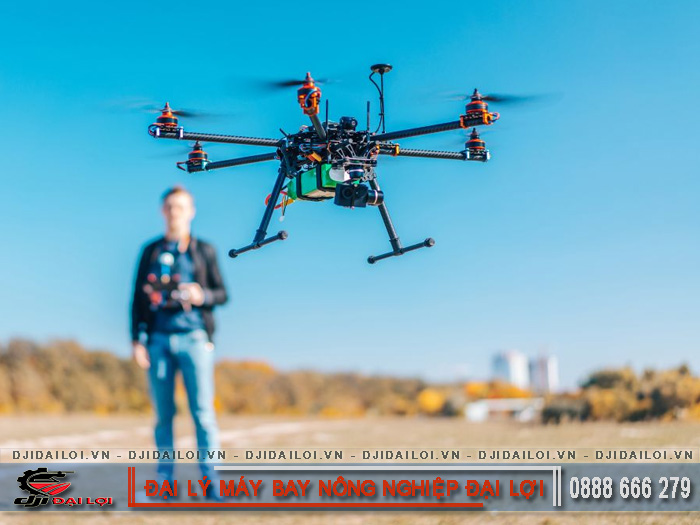
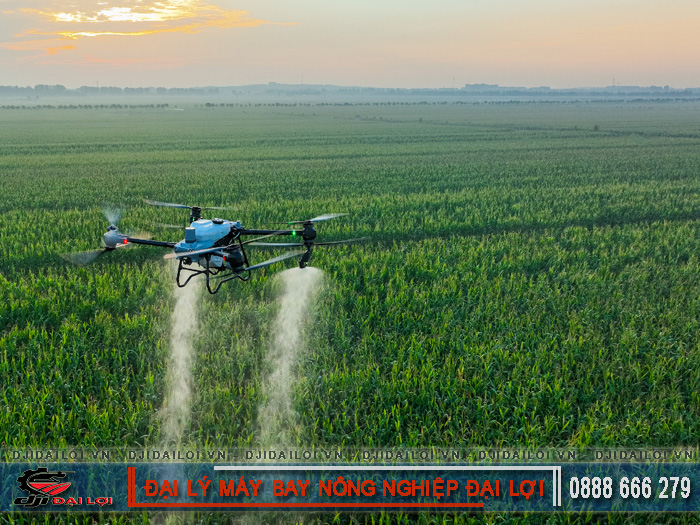
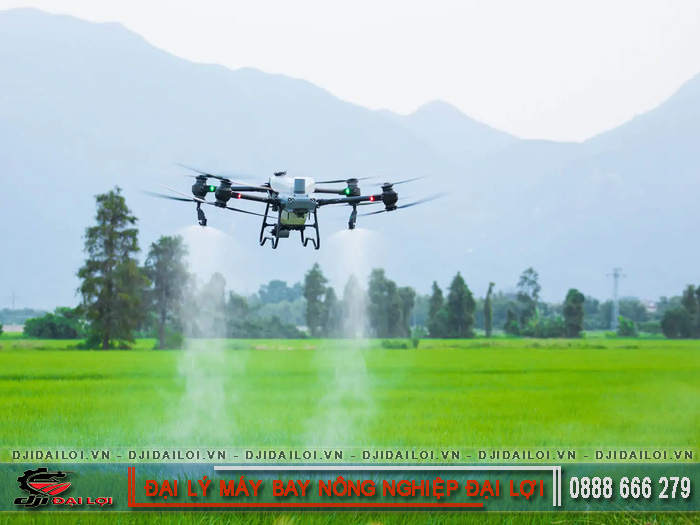
A high-pressure pesticide sprayer is specialized equipment designed to spray plant-protection chemicals with strong force and high pressure, ensuring even coverage across crop surfaces. Modern models from DJI - such as the DJI Agras series - apply intelligent pressure control and multi-nozzle systems that help achieve uniform droplet distribution, reduce drift, and optimize pesticide use. Understanding its structure, working mechanism, and benefits helps you operate safely, efficiently, and cost-effectively.
Main features
- Typically includes a chemical tank, high-pressure pump, hose, and spray nozzle.
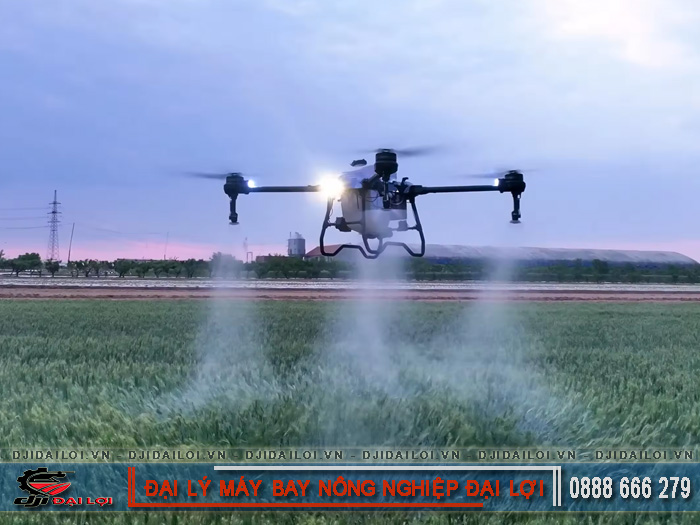
- The “high-pressure” type can mist or jet spray with strong pressure, ensuring even coverage on both sides of leaves.
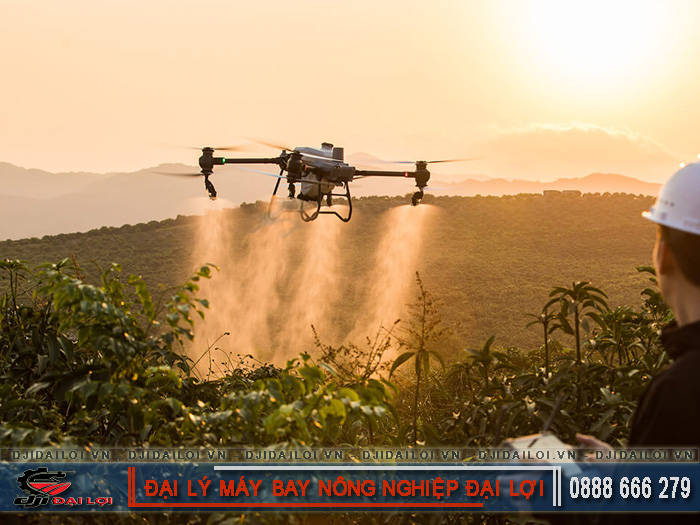
- Suitable for large areas, tall crops, or complex terrain thanks to its flexibility and fast spray rate.
Key benefits
- More uniform spraying, reducing under- or over-sprayed zones and improving pest control efficiency.
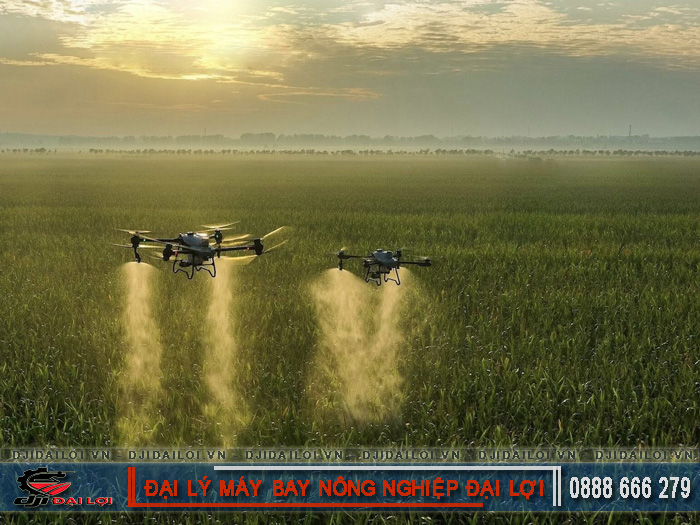
- Saves time and labor compared to manual spraying.
- Reduces pesticide waste high pressure helps droplets adhere better, minimizing evaporation or drift.
- Increases operator safety when used correctly, as less direct exposure to chemicals is required.
Why it matters: Understanding these features and benefits helps you choose the right sprayer, operate it correctly, and avoid waste or inefficiency.
Preparation before operating a pesticide sprayer
Thorough preparation is crucial to ensure smooth operation and safety. Here’s what to prepare before following the pesticide sprayer user manual.
Preparation checklist
- Knowledge base: Understand the crop, select appropriate pesticides, dosage, and suitable weather conditions.
- Tools and equipment:
- Checked high-pressure pesticide sprayer.
- Verified tank and diluted solution.
- Proper hose and nozzle with valve control.
- Personal protective gear: protective clothing, gloves, goggles, mask, boots.
- Technical inspection:
- Ensure no leaks, tight fittings.
- Check pump pressure and nozzle performance.
- Confirm power/fuel readiness and good ventilation.
- Operating conditions:
- Spray only in calm, dry weather (avoid wind or rain).
- Warn others and restrict people or animals from the spraying area.
Expert tips
- Keep a logbook for each spraying session.
- Measure coverage area and cost per spray.
- Always read the manufacturer’s operating manual for model-specific settings.
Step-by-step guide to using a pesticide sprayer
Step 1: Prepare the area and mix chemicals
Clear the spraying area, identify wind direction, and wear full protective gear. Mix pesticides according to label instructions and filter the solution to remove residue.
- Goal: Ensure clog-free operation and protect the pump.
- Correct signs: Clear solution, safe working area.
Step 2: Check equipment and start the machine
Inspect nozzles, valves, hoses, and power source; start the engine or switch on electricity.
- Goal: Stable operation with consistent pressure.
- Correct signs: Smooth noise, no leaks, stable pressure gauge.
- Warning: Stop immediately if vibration or strange noises occur.
Step 3: Adjust pressure and test spray
Adjust pressure according to crop type and test on a small section.
- Goal: Even droplet coverage without overspray or drift.
- Correct signs: Fine mist evenly covering leaves.
- Note: Reduce pressure if droplets are too forceful or uneven.
Step 4: Spray in a planned pattern
Follow a systematic path row by row or crop by crop spraying both upper and lower leaf surfaces.
- Goal: Complete coverage without overlaps or gaps.
- Note: Spray with the wind to prevent back-drift. Avoid strong winds >5 m/s or intense sunlight.
Step 5: Shut down and clean after spraying
Turn off the sprayer, empty remaining solution, and rinse tank, hose, and nozzle with clean water.
- Goal: Prevent residue buildup and corrosion.
- Tip: Lubricate moving parts after each major use.
Step 6: Store and record results
Record spray date, pesticide type, dosage, area, weather, and outcomes. Store equipment in a cool, dry place away from sunlight.
- Goal: Maintain performance and create data for improvement.
Common sprayer problems and solutions
|
Problem
|
Likely cause
|
Solution
|
|
Weak or no spray
|
Clogged nozzle, low pressure
|
Clean nozzle, check pump, replace if needed
|
|
Droplets too wide or drifting
|
Pressure too high or wrong nozzle
|
Reduce pressure, use mist nozzle, spray closer
|
|
Leakage
|
Loose or worn seals
|
Tighten fittings, replace gaskets
|
|
Excessive vibration or noise
|
Loose engine/pump parts
|
Stop, inspect belts, spark plug, or fuel
|
|
Uneven coverage
|
Irregular movement
|
Plan spray path, mark completed zones
|
|
Operator exposure
|
Lack of protection, wrong wind direction
|
Always wear protective gear, spray with wind
|
Safety recommendations
- Keep a safe distance between people and spraying area.
- Keep children and animals away.
- Follow pesticide labels for re-entry and pre-harvest intervals.
- Maintain equipment regularly and replace worn parts.
Signs of proper operation and how to measure efficiency
Correct operation indicators
- Fine, even mist covering both sides of leaves.
- No leaks or abnormal noises.
- Coverage matches the planned area without overlap.
Measuring performance
- Record area (m²/ha), chemical and water used, and spraying time.
- Compare before-and-after results over 24–48 hours.
- Calculate cost per hectare and time saved e.g.:
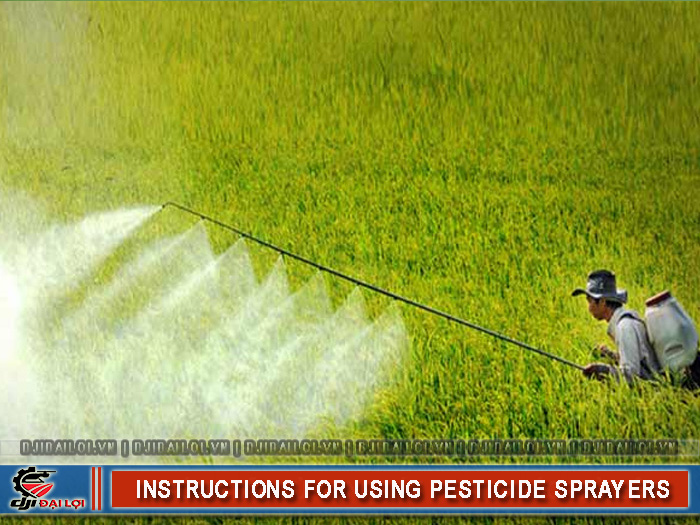
- Manual spray: 4 hr/ha, 5 L chemicals.
- High-pressure sprayer: 1.5 hr/ha, 3.5 L chemicals → clear improvement.
Example: A 2-hectare orchard reduced spraying time from 8 hours to 3 hours and pesticide use from 10 L to 6 L after switching to a high-pressure sprayer a strong sign of efficiency.
Five ways to improve efficiency with a high-pressure sprayer
- Choose the right nozzle type and size – Match spray pattern to crop leaf size and density.
- Adjust pressure and speed – Avoid too much pressure or speed; maintain optimal droplet adhesion.
- Spray at optimal times – Early morning or late afternoon when wind and temperature are mild.
- Cover both leaf surfaces – Especially important for fruit trees and tall crops.
- Maintain equipment regularly – Check seals, filters, and oil. Log maintenance for long-term savings.
FAQs about using a pesticide sprayer
Do pesticide sprayers require regular inspection?
Yes. For large-scale agricultural use, inspect every 6–12 months to ensure safety and compliance.
Can pesticide sprayers handle biological pesticides?
Yes, but use models that don’t generate high heat and always clean thoroughly afterward to prevent contamination.
Can I use one sprayer for multiple pesticides?
Not recommended. Always clean between uses to avoid chemical reactions or residue buildup.
Can a high-pressure sprayer be used inside greenhouses?
Yes, if pressure is reduced and ventilation is adequate. Operators must wear full protective gear.
Can I repair a damaged pesticide sprayer myself?
Only handle minor issues like replacing hoses or nozzles. For engine or pump problems, contact a service center for safety.