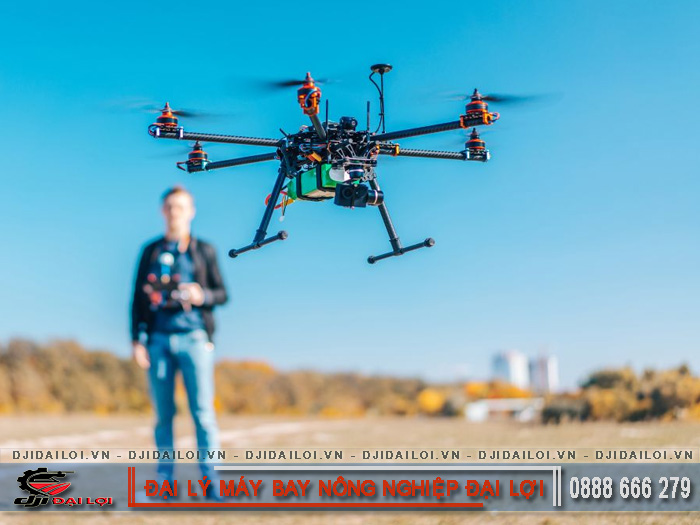
In modern agriculture, using agricultural drones to spray pesticides has become an inevitable trend. However, without proper training, operators may struggle to control drones accurately and safely. Understanding the importance of proper drone piloting helps farmers avoid accidents and maximize performance.
Agricultural drone training involves more than basic controls - it covers flight safety awareness, pesticide knowledge, weather factors, terrain, software setup, and equipment inspection before and after flights. Incorrect operation can cause crashes, spraying errors, or reduced productivity.
Thus, agricultural drone training is not an option but a necessity for efficient, sustainable farming.
Precision flying requires more than intuition. Operators must be equipped with the right tools, software, and knowledge to ensure safety and efficiency.
Essential preparation includes:
If operating in populated or restricted areas, verify local flight regulations and register your device with authorities to ensure compliance.
Operating an agricultural UAV requires strict adherence to procedures - from pre-flight checks to post-flight maintenance.
Check all systems: fully charged batteries, undamaged propellers, clear nozzles, and active sensors. Update firmware and maps.
Tip: Let batteries rest 10 minutes after charging to prevent overheating. Check wind speed and restricted airspace to avoid legal or safety issues.
Use flight software to map fields, select altitude, speed, lane spacing, and chemical dosage.
Modern DJI Agras drones can auto-adjust altitude based on terrain using radar and AI mapping.
Mix according to guidelines, use clean water, and filter the solution. Ensure no leaks from the tank. Always wear protective gear when handling chemicals.
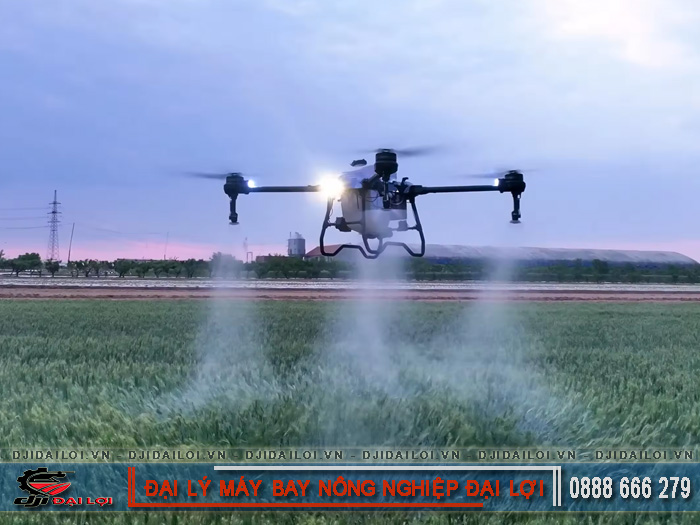
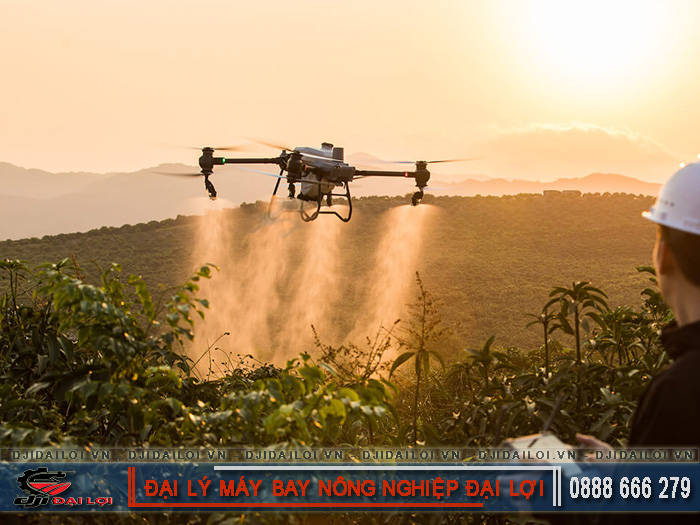
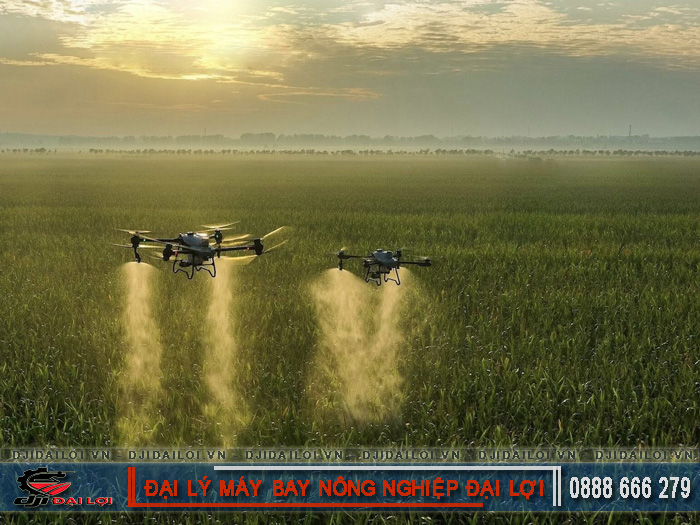
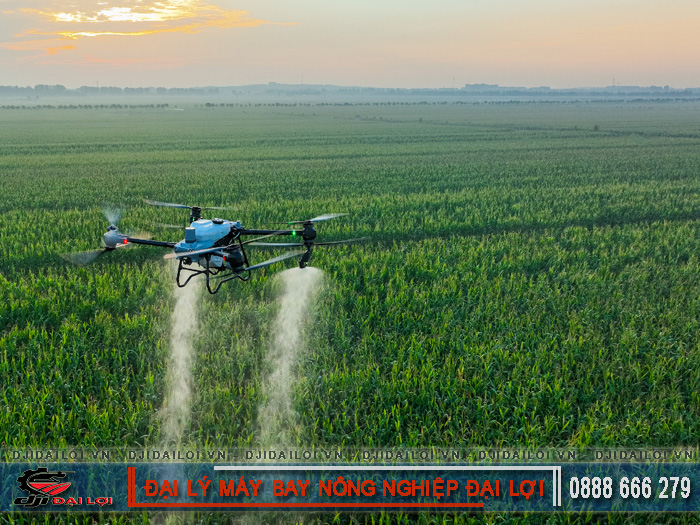
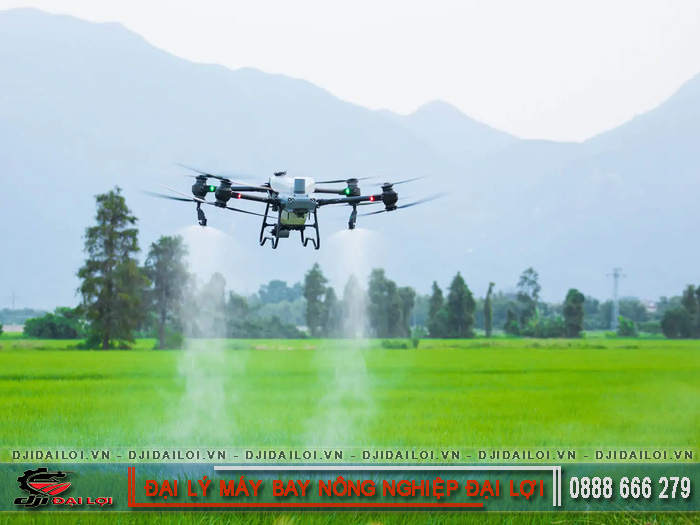
Place the drone in a clear, open space. Connect GPS and start automatic or semi-auto takeoff. Maintain a clear view of the drone during the flight.
Track wind speed, battery level, and spray accuracy. Pause operations if nozzles clog or spray patterns become uneven.
Use RTH (Return to Home). Land gently, power off, remove batteries, and clean the tank and nozzles. Save flight data for analysis and maintenance logs.
Despite automation, improper operation still leads to common issues:
Even though DJI Agras drones have intelligent fault alerts, users should always practice in safe areas before real-field operation.
Knowing whether your spraying operation follows technical standards ensures consistent, measurable performance.
Applying these methods reduces pesticide waste by 10–30% per season while extending drone lifespan.
When learning to fly agricultural drones, choosing the right model is key. The two leading brands are DJI and XAG, both offering models designed for precision spraying.
|
Model |
Tank capacity |
Flight range per charge |
Spray rate |
Key features |
|---|---|---|---|---|
|
DJI Agras T10 |
10 L |
~6 ha |
2.4 L/min |
Compact, easy to transport |
|
DJI Agras T20P |
20 L |
~12 ha |
4 L/min |
Terrain sensing, wind-resistant |
|
DJI Agras T25P |
30 L |
~13–14 ha |
16–24 L/min |
360° radar, night FPV |
|
DJI Agras T40 |
40 L |
~20 ha |
12 L/min |
GNSS, array radar, IPX6K |
|
DJI Agras T50 |
40 L |
~22 ha |
16–24 L/min |
3D FPV, multi-directional radar |
|
DJI Agras T70P |
70 L |
~25 ha |
30–40 L/min |
Night camera, IP67 waterproof |
|
DJI Agras T100 |
75 L |
~28–30 ha |
40 L/min |
AI, LiDAR, 3D mapping, RTK ±1cm |
|
XAG P100 |
40 L |
~18 ha |
5 L/min |
High-resolution radar |
|
XAG V40 |
20 L |
~10 ha |
4 L/min |
Dual-rotor flexible design |
Selection advice:
Choose drones with automated flight routes, obstacle sensors, and waterproof systems for best results in variable terrain.
Learning to fly agricultural drones properly helps users prevent operational errors, ensure safe spraying, save costs, and protect the environment. With structured training and the right equipment - particularly high-performance DJI Agras drones - farmers can fully harness modern agricultural technology and move toward sustainable, data-driven farming.